To document the condition before and after cleaning, start by using a reliable checklist to note specific areas that need attention. Capture high-quality before-and-after photos to visually showcase your efforts. Good lighting and stable positioning help make your images clear and impactful. Additionally, consider jotting down detailed observations in written reports to highlight specific issues you encountered and improvements made. This creates a solid record of cleanliness and enhances accountability. By maintaining organized documentation, you not only track progress but also create a framework for future cleaning efforts and standards, leading to even greater insights ahead.
Importance of Documentation
When you document cleaning conditions, you not only create a record but also foster accountability within your team. This practice helps guarantee everyone understands the standards expected in your workspace. By clearly noting the initial and final states of cleanliness, you establish a baseline that highlights areas needing improvement. This clarity encourages your team to take pride in their work, knowing their efforts contribute to a healthier environment for everyone.
Moreover, documentation can serve as a valuable training tool. When new team members see how you maintain cleaning standards, they grasp the importance of their role in serving others.
Ultimately, effective documentation not only enhances workplace hygiene but also cultivates a culture of excellence and mutual respect among staff.
Tools for Effective Documentation
To maintain high cleaning standards and guarantee proper documentation, utilizing the right tools is key. Start with a reliable checklist that outlines what needs to be documented before and after cleaning. This makes sure you don’t overlook any vital details.
A digital camera or smartphone is essential for capturing images, while hose cleaning a notepad or digital device can help you jot down observations. Consider using apps designed for documentation; they can streamline the process considerably.
Also, voice recorders can be helpful for quick notes if you’re on the go. Finally, make certain you have a consistent method for storing and organizing your documentation, making it easy to reference later.
With the right tools, you’ll serve others better and uphold cleanliness standards.
Visual Documentation Techniques
Visual documentation techniques play an essential role in showcasing the effectiveness of your cleaning efforts. Start by taking clear before-and-after photos from the same angles to highlight the transformation.
Good lighting is vital, so choose well-lit areas or use a flash when necessary. Consider using a tripod for stability, ensuring crisp images. You might also capture close-ups of specific areas to emphasize improvements.
If applicable, use videos to provide a dynamic view of the cleaning process and results. Remember to keep your images organized and labeled for easy reference later.
Written Condition Reports
Written condition reports serve as an essential tool for documenting the state of cleanliness in any environment. When you create these reports, you’re providing a clear snapshot of the area before and after cleaning.
Start by noting specific details such as the presence of dirt, stains, or wear. Use straightforward language to describe these conditions, ensuring anyone reading it can easily understand.
After cleaning, compare the results to your initial observations, highlighting any improvements. This not only helps track your efforts but also demonstrates your commitment to maintaining a clean space.
Taking Before and After Photos
Taking before and after photos is a powerful way to visually document cleaning conditions.
These images capture the transformation your efforts achieve, making it easier to convey the impact of your work to clients or stakeholders.
Start by taking clear, well-lit photos of the area before you clean, focusing on any dirt, clutter, or stains.
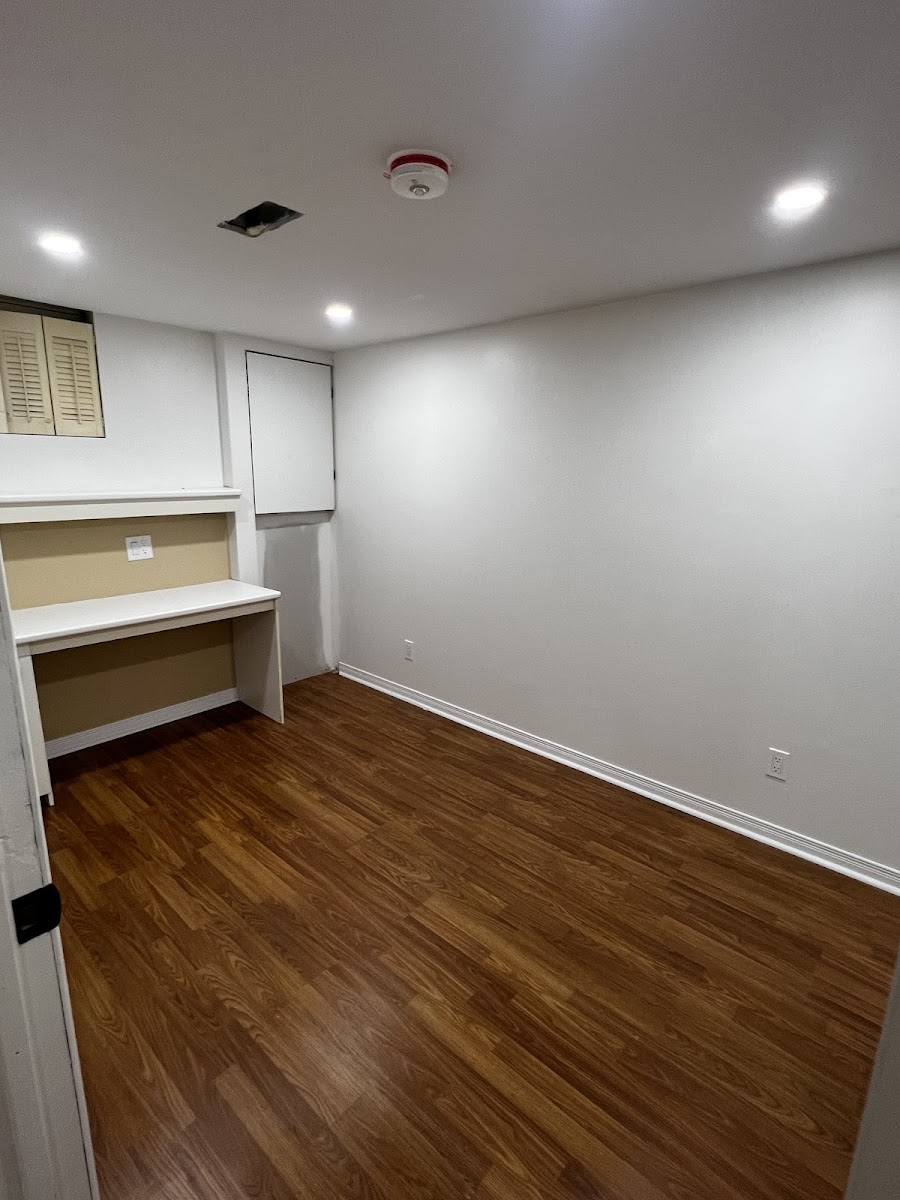
Make sure to capture various angles to provide a thorough view.
After cleaning, take the same shots from the same angles to highlight the difference.
These photos not only serve as proof of your hard work but also inspire confidence in your services.
Sharing these images can help others appreciate the value of cleanliness, allowing you to serve your community even better.
Utilizing Checklists
While you might think cleaning is straightforward, utilizing checklists can streamline the process and secure nothing gets overlooked.
Creating a checklist tailored to your specific cleaning tasks ensures you stay focused and organized. List every area and item that requires attention, from surfaces to corners.
As you clean, check off each task; this not only helps you keep track but also offers a sense of accomplishment.
Organizing Your Documentation
To guarantee your cleaning documentation is effective, it’s crucial to organize it in a way that makes it easy to access and understand.
Start by grouping your documents by location or type of cleaning task. This allows you to quickly find the information you need when serving your clients.

Use clear headings and subheadings to categorize each section, making it straightforward to navigate your files. Color-coding or labeling can also help distinguish between different areas or services.
Consider creating a digital folder system that mirrors your physical files for easy access on-the-go.
Reviewing and Analyzing Results
After organizing your documentation, the next step involves reviewing and analyzing the results of your cleaning efforts.
Take a close look at the before-and-after images and notes you’ve compiled. Consider how effectively you’ve addressed specific areas and whether your cleaning methods met their intended goals.
Engage your team in this review process; their insights can provide valuable perspectives on what worked and what didn’t. Identify any patterns in the results that might suggest areas for improvement, and celebrate successes to motivate everyone involved.
Best Practices for Accountability
Establishing clear accountability measures is essential for maintaining high cleaning standards and ensuring everyone understands their responsibilities.
Start by defining specific roles for each team member, so they know who’s in charge of what tasks. Create checklists that outline cleaning procedures and have team members sign off upon completion. Regularly review these checklists to identify patterns or areas needing improvement.
Encourage open communication; hold regular meetings to discuss challenges and celebrate successes. Additionally, implement a feedback system where staff can share insights about the cleaning process.
This not only promotes accountability but also fosters a culture of teamwork and service. By taking these steps, you’ll enhance your cleaning efforts and create a more positive environment for everyone involved.

Conclusion
In documenting the condition before and after cleaning, you’re not just keeping records; you’re ensuring accountability and transparency. Remember, “a picture’s worth a thousand words,” so take advantage of photos and written reports to capture every detail. By using checklists and organizing your findings, you create a clear narrative that highlights your efforts and results. This practice not only improves your cleaning process but also builds trust with clients and stakeholders, reinforcing your commitment to quality.